
| Audience | All |
|---|---|
| Prerequisites | Basic Linux Commands |
| Duration | 2 hour workshop (~2 hours of trainer-led time) |
Description
This workshop is planned to last for 2 hours. It is a live coding workshop and participants are expected to practice along with the instructor. Lessons will focus on using the command-line text editor, Vim, to create and edit files, utilizing for-loops for automation, using variables to store information, and writing scripts to perform a series of commands in a sequential order.
Learning Objectives
- Learning basic operations using the Vim text editor
- Capturing previous commands into a script to re-run with one single command
- Understanding variables and storing information
- Learning how to use variables to operate on multiple files
This workshop is designed on the model developed by the Software and Data Carpentry. The material on this page is part from the Software Carpentry Lessons
Setup
Download data-shell.zip and move the file to
your Desktop. Unzip/extract the file. You should have a
new folder called data-shell on your Desktop.
Open a terminal. If you’re not sure how to open a
terminal in your operating system, see the instructions
below. In the terminal type cd then press the ‘Return’
key. This step will make sure you start with your home
folder as your working directory. Later on, you will
find out how to access the data files in this folder.
Follow the instructions here to set up your operating system
Contents
Basic Shell Commands
Below is a key of the basic commands you should be familiar with in order to be able to follow this module.
## Commands

cd            # change directory to "~" or to specified directory
ls            # list contents of current or specified directory
man <command> # display manual for specified command
pwd           # specify present working directory
echo "..."    # display content in quotes on the standard output
history       # display previous "historical" commands
cat <file>    # display all contents of a file on the standard output
less <file>   # open a buffer with the contents of a file
head <file>   # display the first 10 lines of a file
tail <file>   # display the last 10 lines of a file
cp <..> <..>  # copy files or directories
mdkir         # make a new directory/folder
mv <..> <..>  # move or rename files or directories
rm <file>     # remove a file or a folder (-r)

## Other
~             # home directory
.             # current directory
..            # parent directory
*             # wildcard
ctrl + c      # cancel current command
ctrl + a      # start of line
ctrl + e      # end of line
Visit the sites below to see how bash commands are used
Shell Cheat Sheets
General Help
- man bash - run this at your command line to learn more about bash
- Google - Googling things you don’t know. Other people have probably had the same question.
- Learn by doing. There is no better way to learn other than by trying.
Introduction To Vim
Creating Text Files
There are two ways to create text files: using GUI text editors or command-line text editors.
NOTE: by “text editor,” we really do mean “text”. The editors can only work with plain characters, not tables, images, nor any other media.
GUI text editors
TextWrangler, Sublime, and Notepad++ are examples of GUI text editors. They have a Graphical User Interface that has buttons and menus that you can click on to issue commands to the computer and you can move about the interface just by pointing and clicking.
Command-line text editors
If we are working on remote computer (i.e. high-performance compute environments) we don’t have access to a GUI and so we need to use Command-line editors to create, modify and save files. When using these types of editors, you cannot ‘point-and-click’, you must navigate the interface using only the keyboard.
Popular command-line editors include nano, Emacs or Vim. These editors are available by default on any shell environment, including on high-performance compute environments (local or cloud).
Vim Text Editor
It is a powerful text editor with extensive text editing options; however, in this introduction we are going to focus on exploring some of the more basic functions. To help you remember some of the keyboard shortcuts introduced and to allow you to explore additional functionality on your own, the research team at the Harvard Chan Bioinformatics Core has compiled a cheatsheet
Vim Interface
Get into your work environment with cd and make a copy of the file notes.txt into a new document entitled
vim_notes.txt. Use vim to open the new document
$ cd ~/Desktop/data-shell
$ cp notes.txt vim_notes.txt
$ vim vim_notes.txt
Vim Modes
Vim has two basic modes that will allow you to create documents and edit your text:
- command mode (default mode): allows you to save and quit the program (and execute other more advanced commands).
- insert (or edit) mode: allows you to write and edit text
Files open with vim are automatically in command mode. To change to the INSERT mode, push the i-key and
notice the --INSERT-- at the bottom left hand of the screen.
Type a few lines of text:
While vim offers great functionality, it takes time to use, get familiar and learn the shortcuts.
After you have finished typing, press esc to enter command mode. Notice the --INSERT-- disappeared
from the bottom of the screen.
Vim Saving and Quitting
To write to file (save), type :w. You can see the commands you type in the bottom left-hand corner of the screen.
After you have saved the file, the total number of lines and characters in the file will print out at the bottom left-hand section of the screen.
Alternatively, we can write to file (save) and quit all at once. Let’s do that by typing :wq. Now, you should
have exited vim and returned to the command prompt. To edit your vim_notes.txt document, open up the file again
using the same command you used to create the file:
$vim vim_notes.txt
Change into the insert mode and type a few more lines (you can move around the lines of text using
the arrows on the keyboard). This time we decide to quit without saving by typing :q!
Vim Editing
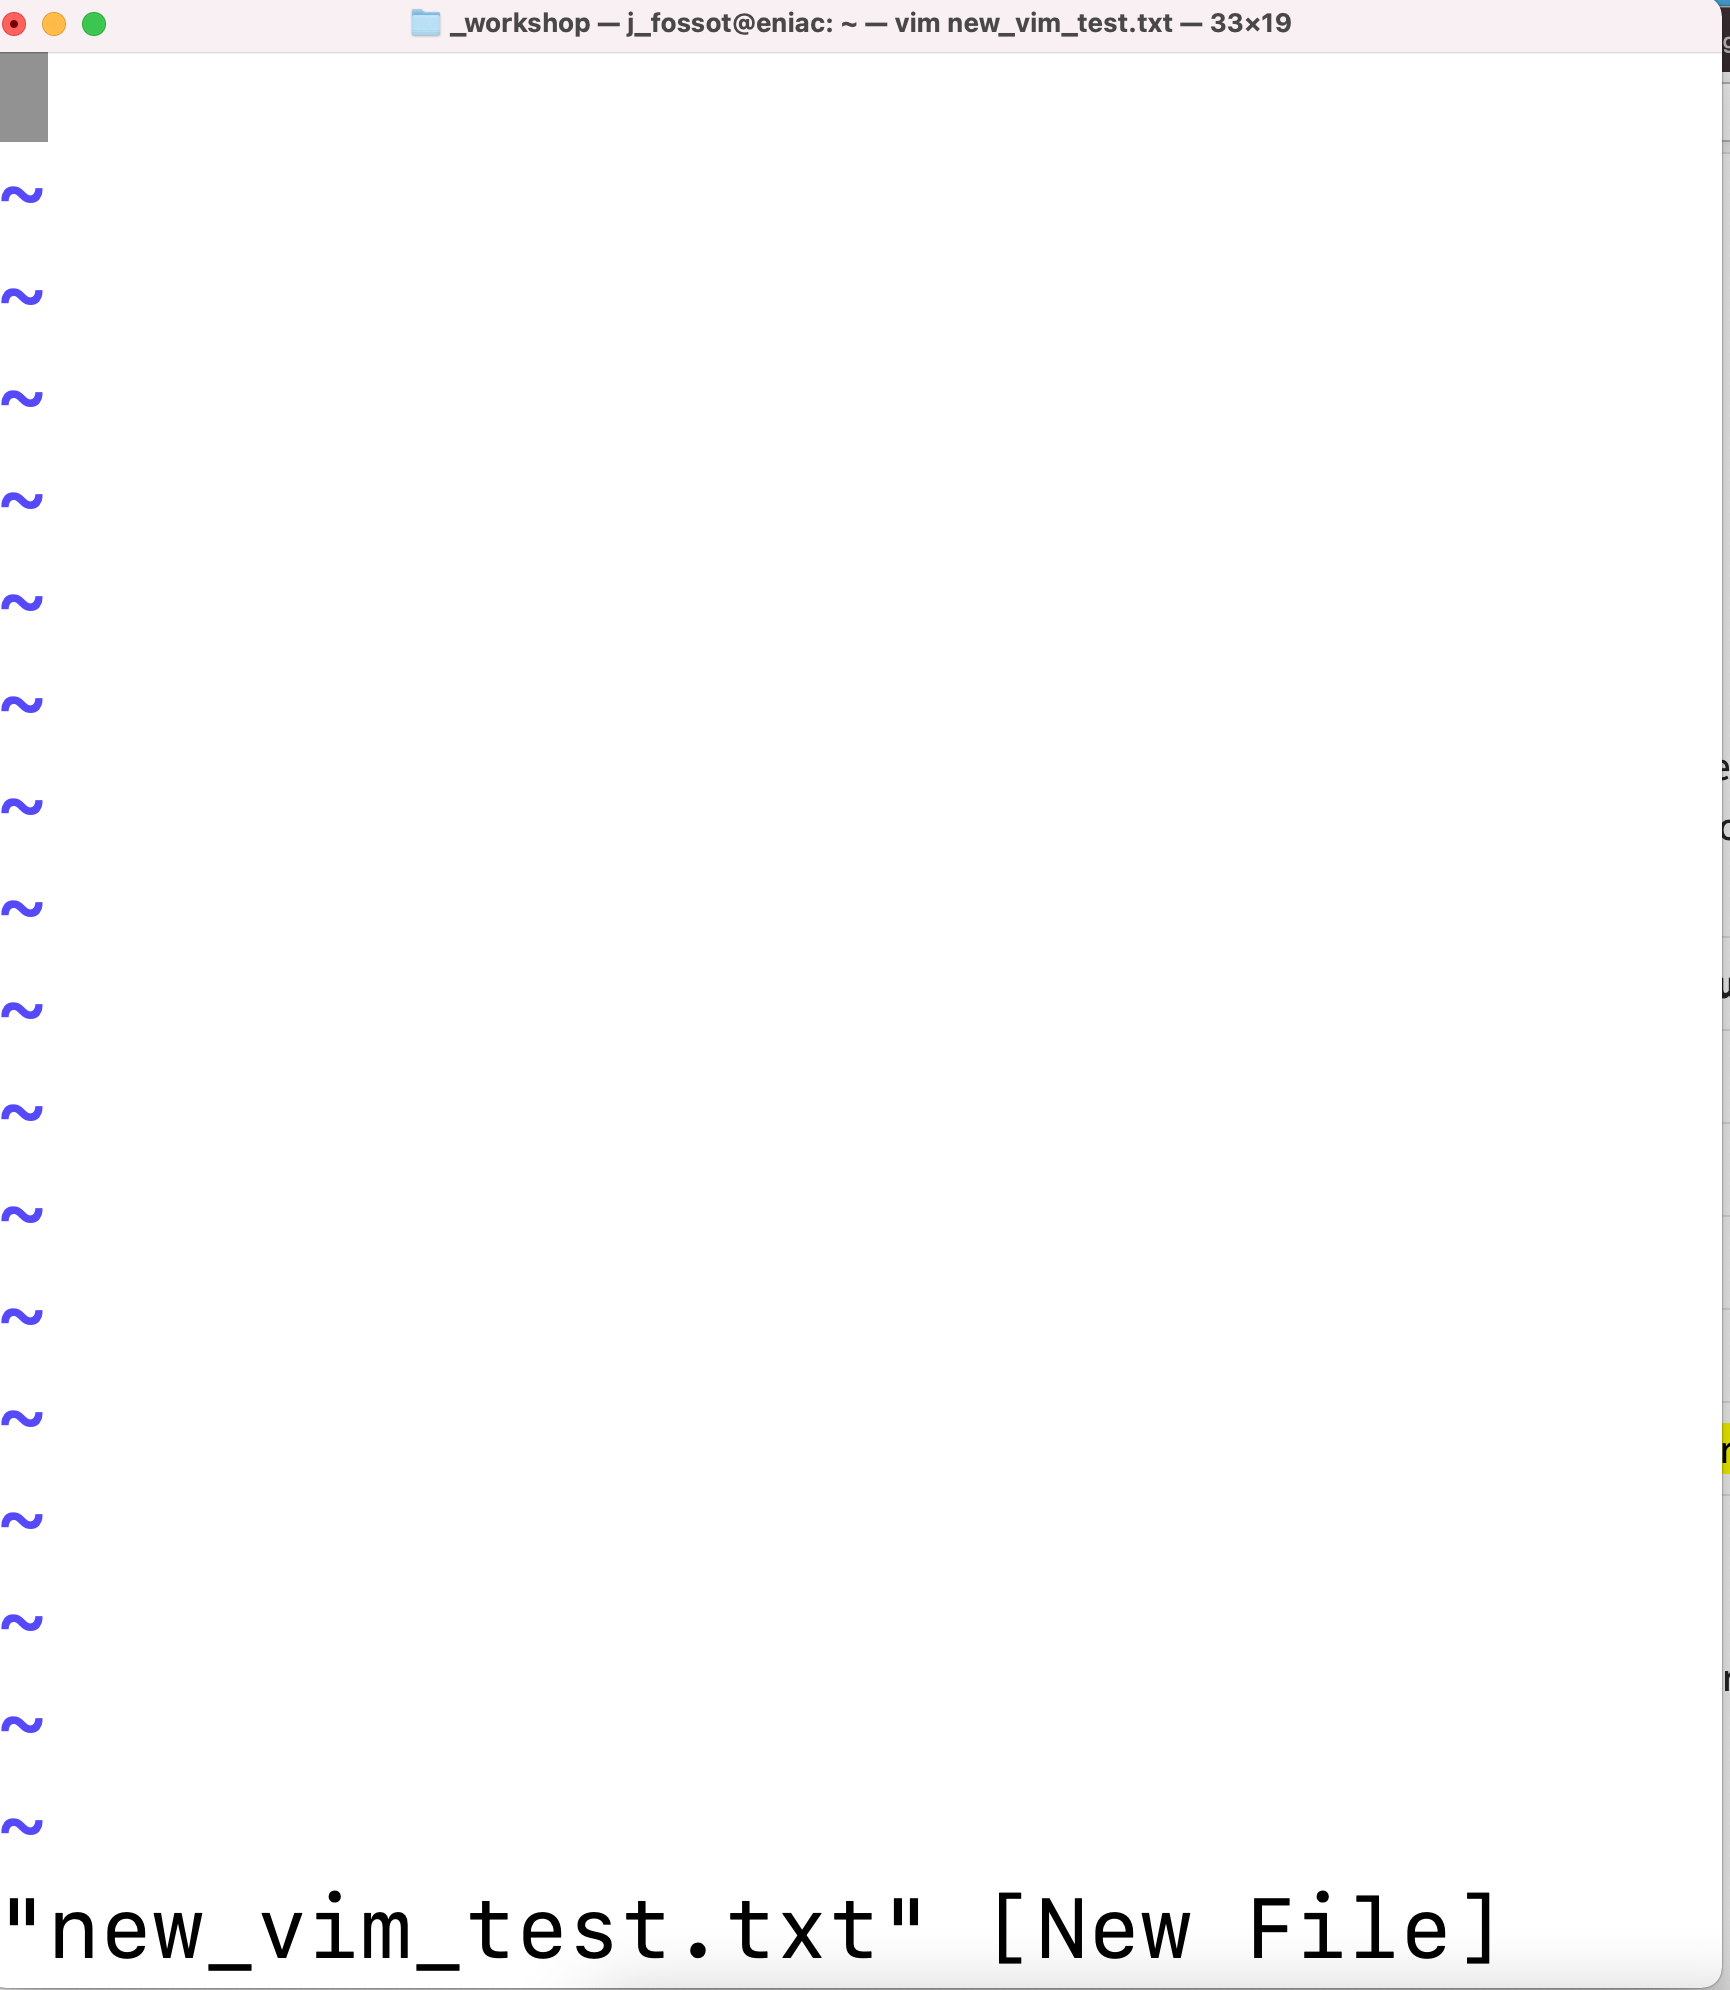
Create a new document new_vim_test.txt in vim. Enter the text as follows: vim new_vim_test.txt
Add line number to the document by switching to the command mode and typing :set number.
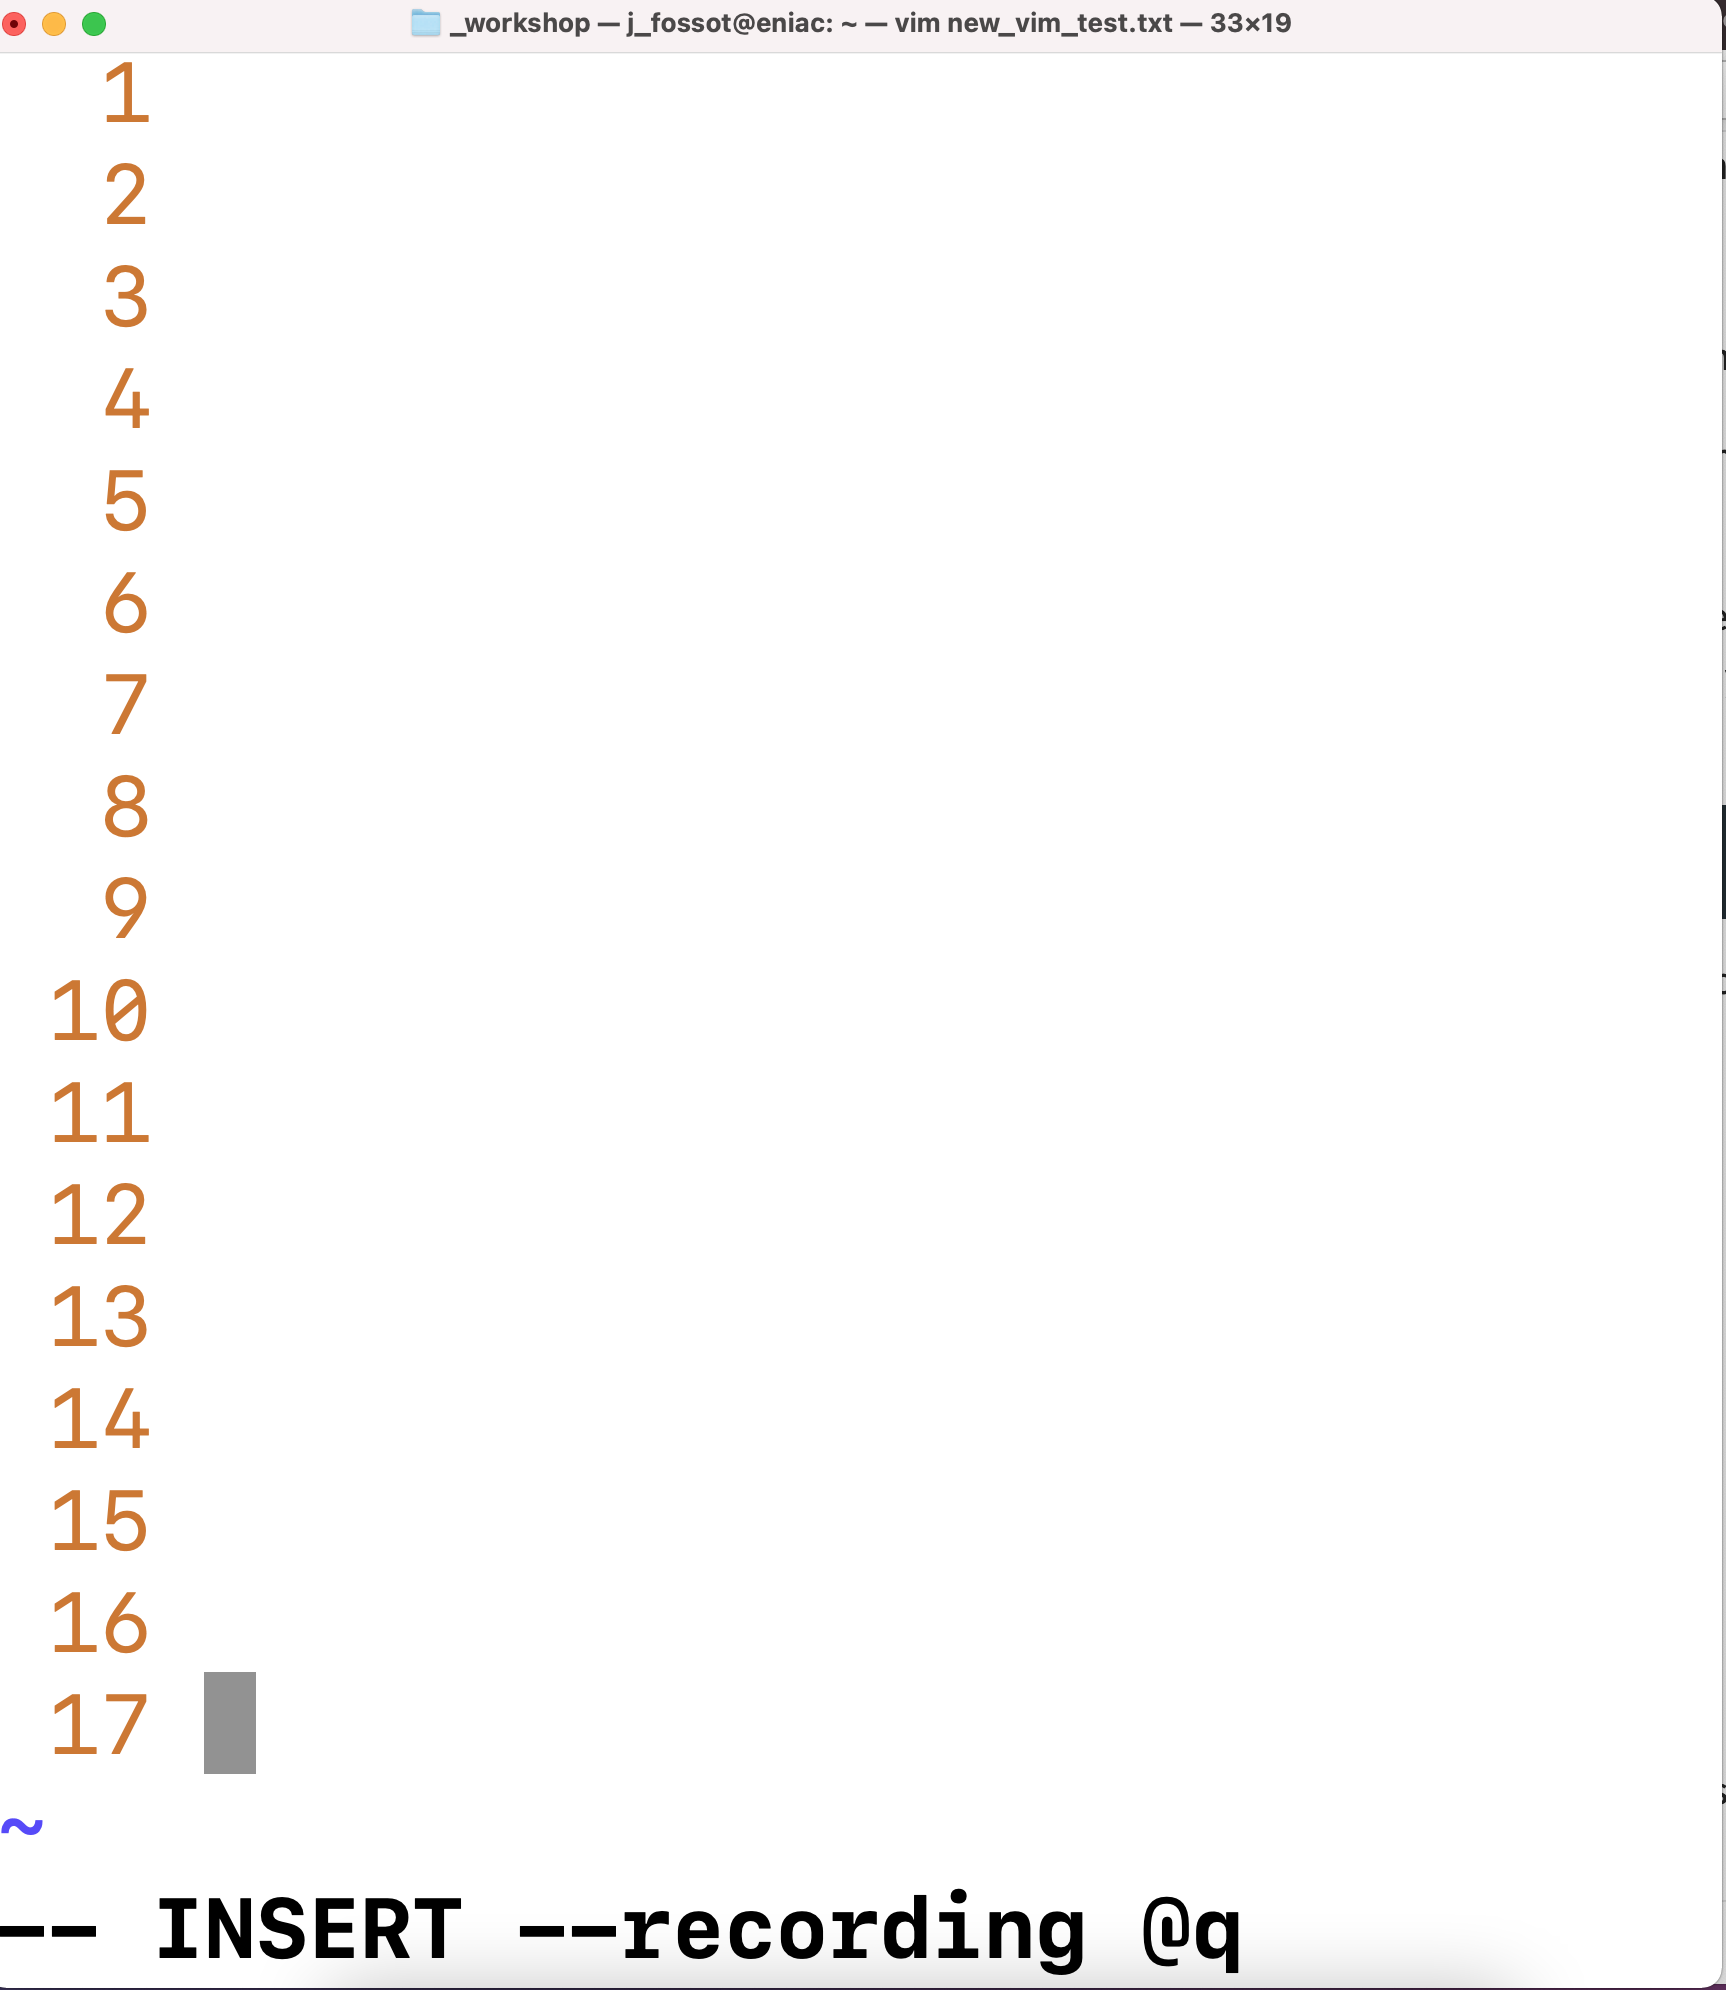
Save the document. If you choose to remove the line numbers later you can type :set nonumber
Vim has shortcuts (which are completely unituitive, but very useful as you get used to them over time). Check to see what mode you are currently in. While in command mode, try moving around the screen and familarizing yourself with some of these shortcuts:
| Navigation | Editing | Saving and quiting | |||
| key | action | key | action | key | action |
| gg | move to top of file | dd | delete line | :w, :wq | save, save and quit |
| G | move to bottom of file | u | undo | :q! | quit without saving |
| $ | move to end of line | Ctrl + r | redo | :set number | display line numbers |
| 0 | move to beginning of line | i, esc | insert and command modes | :set nonumber | not display line numbers |
Exercise
We have covered some basic commands in vim, but practice is key for getting comfortable with the program. Let’s practice what we just learned in a brief challenge.
- Open notes.txt, and delete line #2.
- Quit without saving.
- Open notes.txt again, go to the last line and delete it.
- Undo your previous deletion.
- Redo your previous deletion.
- Save the file and see whether your results match your neighbors.
Shell Scripts
Since we now know how to create text files in the command-line interface, we are going to use that knowledge to create a shell script and see what makes the shell such a powerful programming environment.
Simple Scripts
Let’s write a shell script that will do two things:
- Tell us our current working directory
- List the contents of the directory
First open a new file using vim:
$ vim first_script.sh
Then type the following command into first_script.sh file:
echo "Your current working directory is: "
pwd
echo "This is the content of your working directory: "
ls -lFG
Save and exit the file (:wq)
Use bash or sh to execute first_script.sh
bash first_script.sh
Execute the script in a different directory other
$ mkdir other
$ mv first_script.sh other
$ sh other/first_script.sh
More elegant way to execute the script
- open the file
$ vim first_script.sh - On the first line of the file write
#! /bin/bash - Step 2. indicates to the script where the bash executable is.
- Make the script executable with
chmod +x first_script.sh. - Execute in the current directory with
$ ./first_script.sh, and hit return . - Execute in the parent directory with
$ /other/first_script.sh, and hit return .
Did it work as you expected? Was the echo command helpful in letting you know what came next?
Bash Variables
A variable is a common concept shared by many programming languages. Variables are essentially a symbolic/temporary name for, or a reference to, some information. Variables are analogous to “buckets”, where information can be stored, maintained and modified without too much hassle.
Simple variable Lets assign 25 to num
$ num=25
Retrieve the value of num
$ echo num
What do you see at the command line? When retrieving the value stored in the variable, explicitly use a $ in front of it:
$ echo $num
Variables can also store a string of character values.
$ file=pentane.pdb
Passing Argument(s) to a script
- Argument(s) are passed to the script at the time of execution.
- Inside the script,
$1variable references the first argument$2variable references the second argument$nvariable references the nth argument$0is reserved and references the current script Change to the molecules directory
$ cd molecules
$ echo $file
Let’s try using the variable in a command
$ wc -l $file
NOTE: Variables created are system-wide, and independent of where you are in the filesystem. This is why you can reference it from any directory. However, it is only available for your current session. If you exit or close your Terminal, the variables you have created will no longer exist.
Example of Argurment passing to script
- Open the file
$ vim first_script.sh - Write the following line of code in the file
 #! /bin/bash
 echo "This script was executed as: $0 "
 for filename in $1 $2 $3
 do
   echo "Argument passed is $filename"
   echo "$(wc -l $filename) lines"
 done
Exercise
- Reuse the $file variable to store a different file name, and rerun the previous commands.
Variables can store more than just a single value
The command below list all the files ending in .pdb in molecules directory.
$ ls *.pdb
Assign the output to a single variable
$ files='ls *.pdb'
Note the syntax for assigning output of commands to variables.
Check the output
$ echo $files
Let’s try the wc -l command again, but this time using the new variable files as the argument:
$ wc -l $files
Exercise
- Use some of the other commands you are familiar with (i.e.
head,tail) on thefilesvariable.
Repetitive Tasks
In the previous example all the files were saved into a single variable files. We could access files
content one at a time. This is called looping.
Looping is a concept shared by several programming languages, and its implementation in bash is very similar to other languages.
The syntax of (for) loops in bash is as follows:
for (variable_name) in (list)
do
(command $variable_name)
.
.
done
- variable_name defines (or initializes) a variable that takes the value of every member of the specified list one at a time.
- At each iteration, the loop retrieves the value stored in the variable.
- The commands indicated between the do and done are executed one at a time.
Example
for File in files
 do
   echo $File
   wc -l $File
 done
- The script writes to the terminal
(echo)the name of the file, - then the number of lines
(wc -l)for each file. - the number of items in the list (variable name) == number of times the code will loop through.
- Variable name does matter in the loop.
- Make the variable name intuitive, indicate functionality.
Optional Resources
The following are additional resources that you may find useful:
- Shell Scripting
- Ryan’s tutorial
- The Linux Command Line (Part 4: Writing Shell Scripts)
- Bash Guide
- Shell programming with bash: by example, by counter-example
- Networking